DIY GIFT WRAPPING
I always have a difficult time finding the perfect wrapping paper that doesn’t cost so much money. Here’s one of my favorite solutions.
D O I T Y O U R S E L F
![]()
One of my favorite parts about giving a holiday present is the gift wrapping. Partly because I’ve always been drawn to presentations, but also because it gives me the opportunity to get creative and come up with different ideas. I always disliked buying wrapping paper. It costs too much money, and in order for a nice presentation, more than one roll is usually required. This year I decided to opt out on spending money on the paper around the gift, and rather put more quality time in making each gift special.
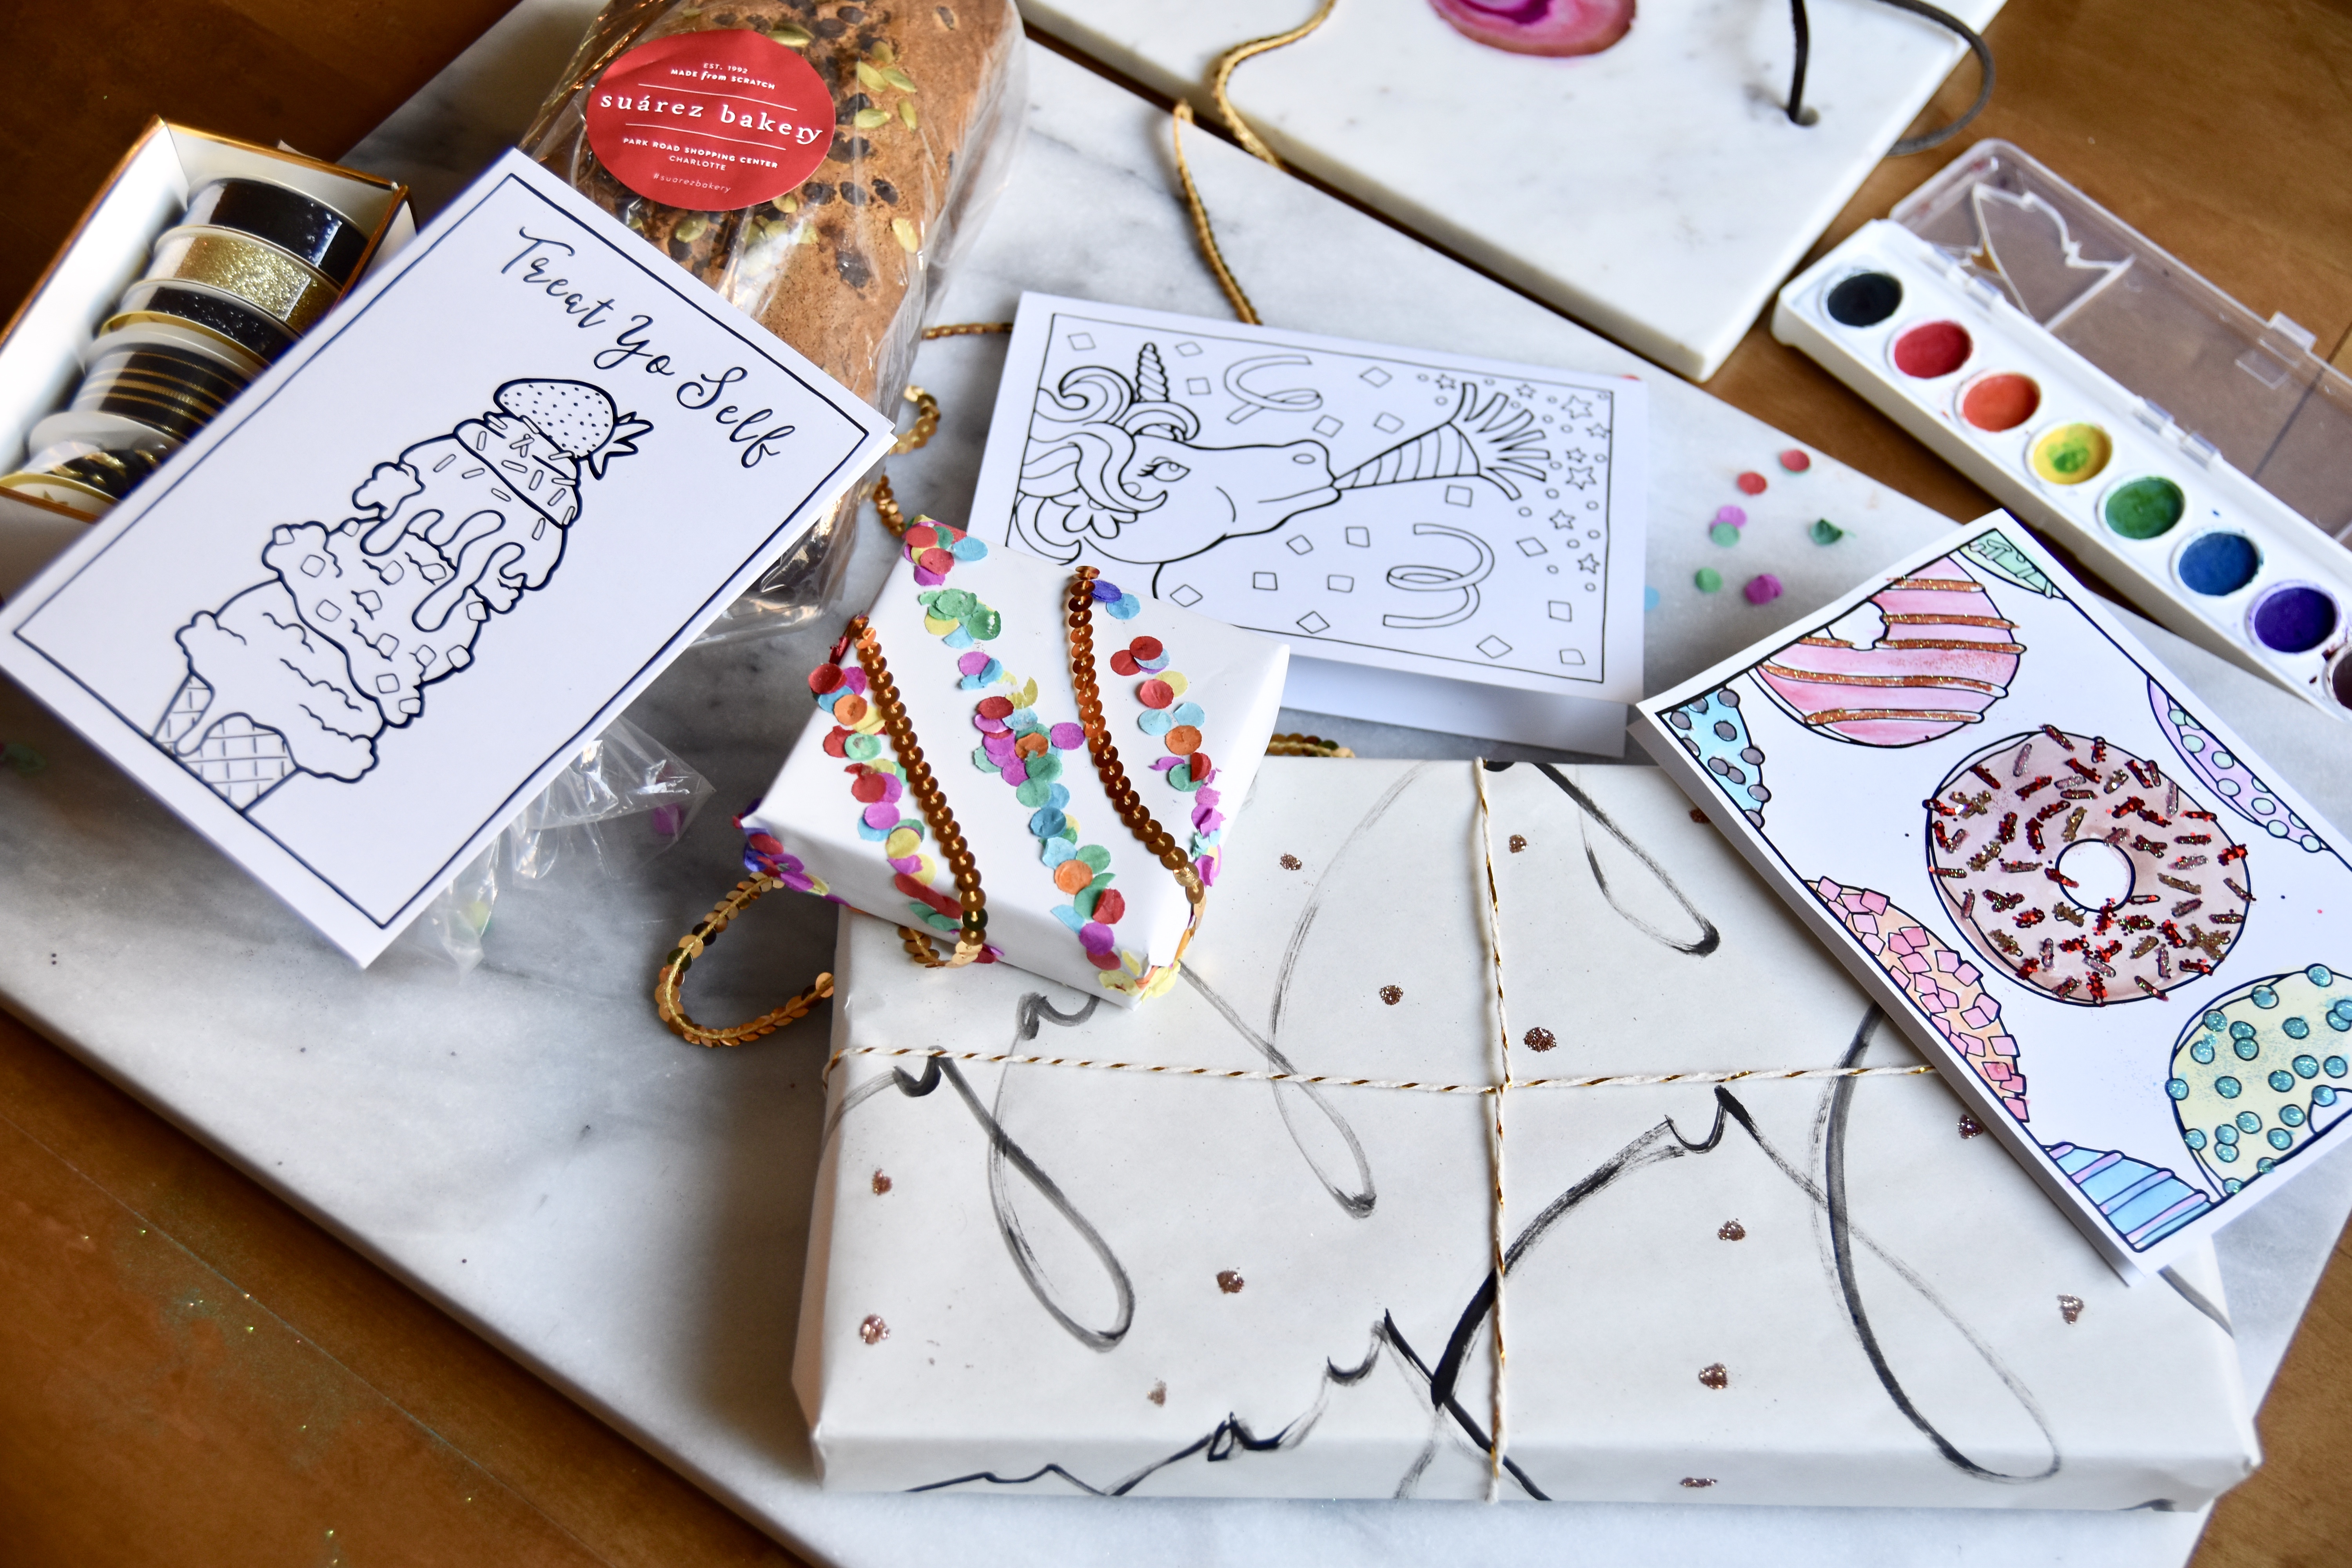
If you find that you have some time on your hands, you should totally give these a try. They didn’t take long and I loved the way they turned out. I paired each of these gifts with a cute coloring card by Brighter Sides Designs, and I am so excited to give them out so my friends can color them in. I went ahead and water colored the doughnut one because I just couldn’t help myself.


W H A T Y O U N E E D
PLAIN WRAPPING PAPER
WATER COLOR PAINT
PAINT BRUSH
GLITTER OF YOUR CHOICE
GLUE PEN (I used this one)
H O W T O
Cover your work space so you don’t make a mess
Use water color brush and lightly dip in water
Dip in black color and begin at the top corner
Write whatever you want!
Add glue dots all around paper
Lightly sprinkle with glitter
Lightly tap off excessive glitter


![]()
W H A T Y O U N E E D
PLAIN WRAPPING PAPER
PAPER CONFETTI (DIY or comes with Brighter Sides Designs card!)
GLUE PEN (I used this one)
![]()
H O W T O
Cover your work space so you don’t make a mess
Draw any shape you’d like to cover with the glue pen
Carefully sprinkle paper confetti over lines
Lightly (& carefully) tap excessive off
Line empty space with sequin ribbon
![]()


![]()
I loved coloring in my Brighter Sides Design card.
The watercolor effect gave it a really personal feel
and the glitter added some pop!
They were the absolute perfect addition to my gifts this year!
![]()

CRACKER CANDY
TIGER STRIPES & FRINGE
You May Also Like

BEST DRESSED: 2016 MET GALA
May 2, 2016
MODERN PINK PICASSO
May 7, 2017