
DIY FLOWER CROWN
A full tutorial on how to make your own flower crown.
F L O R A L R O Y A L T Y
![]()
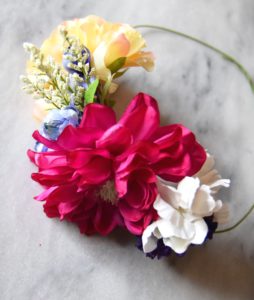
My sister always had big dreams to go to Coachella. That’s why when it was time to plan her bachelorette party, it was a toss up between a weekend at the infamous festival or an event filled stay in one of our favorite cities. With the attempt to merge the two together, I unified our group in Vegas with flower crowns by the pool. Of course the one I made for my sister had to be special, so I decided to make it myself. I did my best to pick out some of her favorite color combinations and large flowers that made a statement. Although not all white, everyone knew she was a bride. The whole project took about 30-45 minutes, and since I had been invited to a flower crown Galentine’s Day earlier in the year, I was quite familiar with what I needed to make her perfect crown.
![]()
W H A T Y O U N E E D
FLORAL WIRE
FLORAL TAPE
FLORAL WIRE CUTTERS
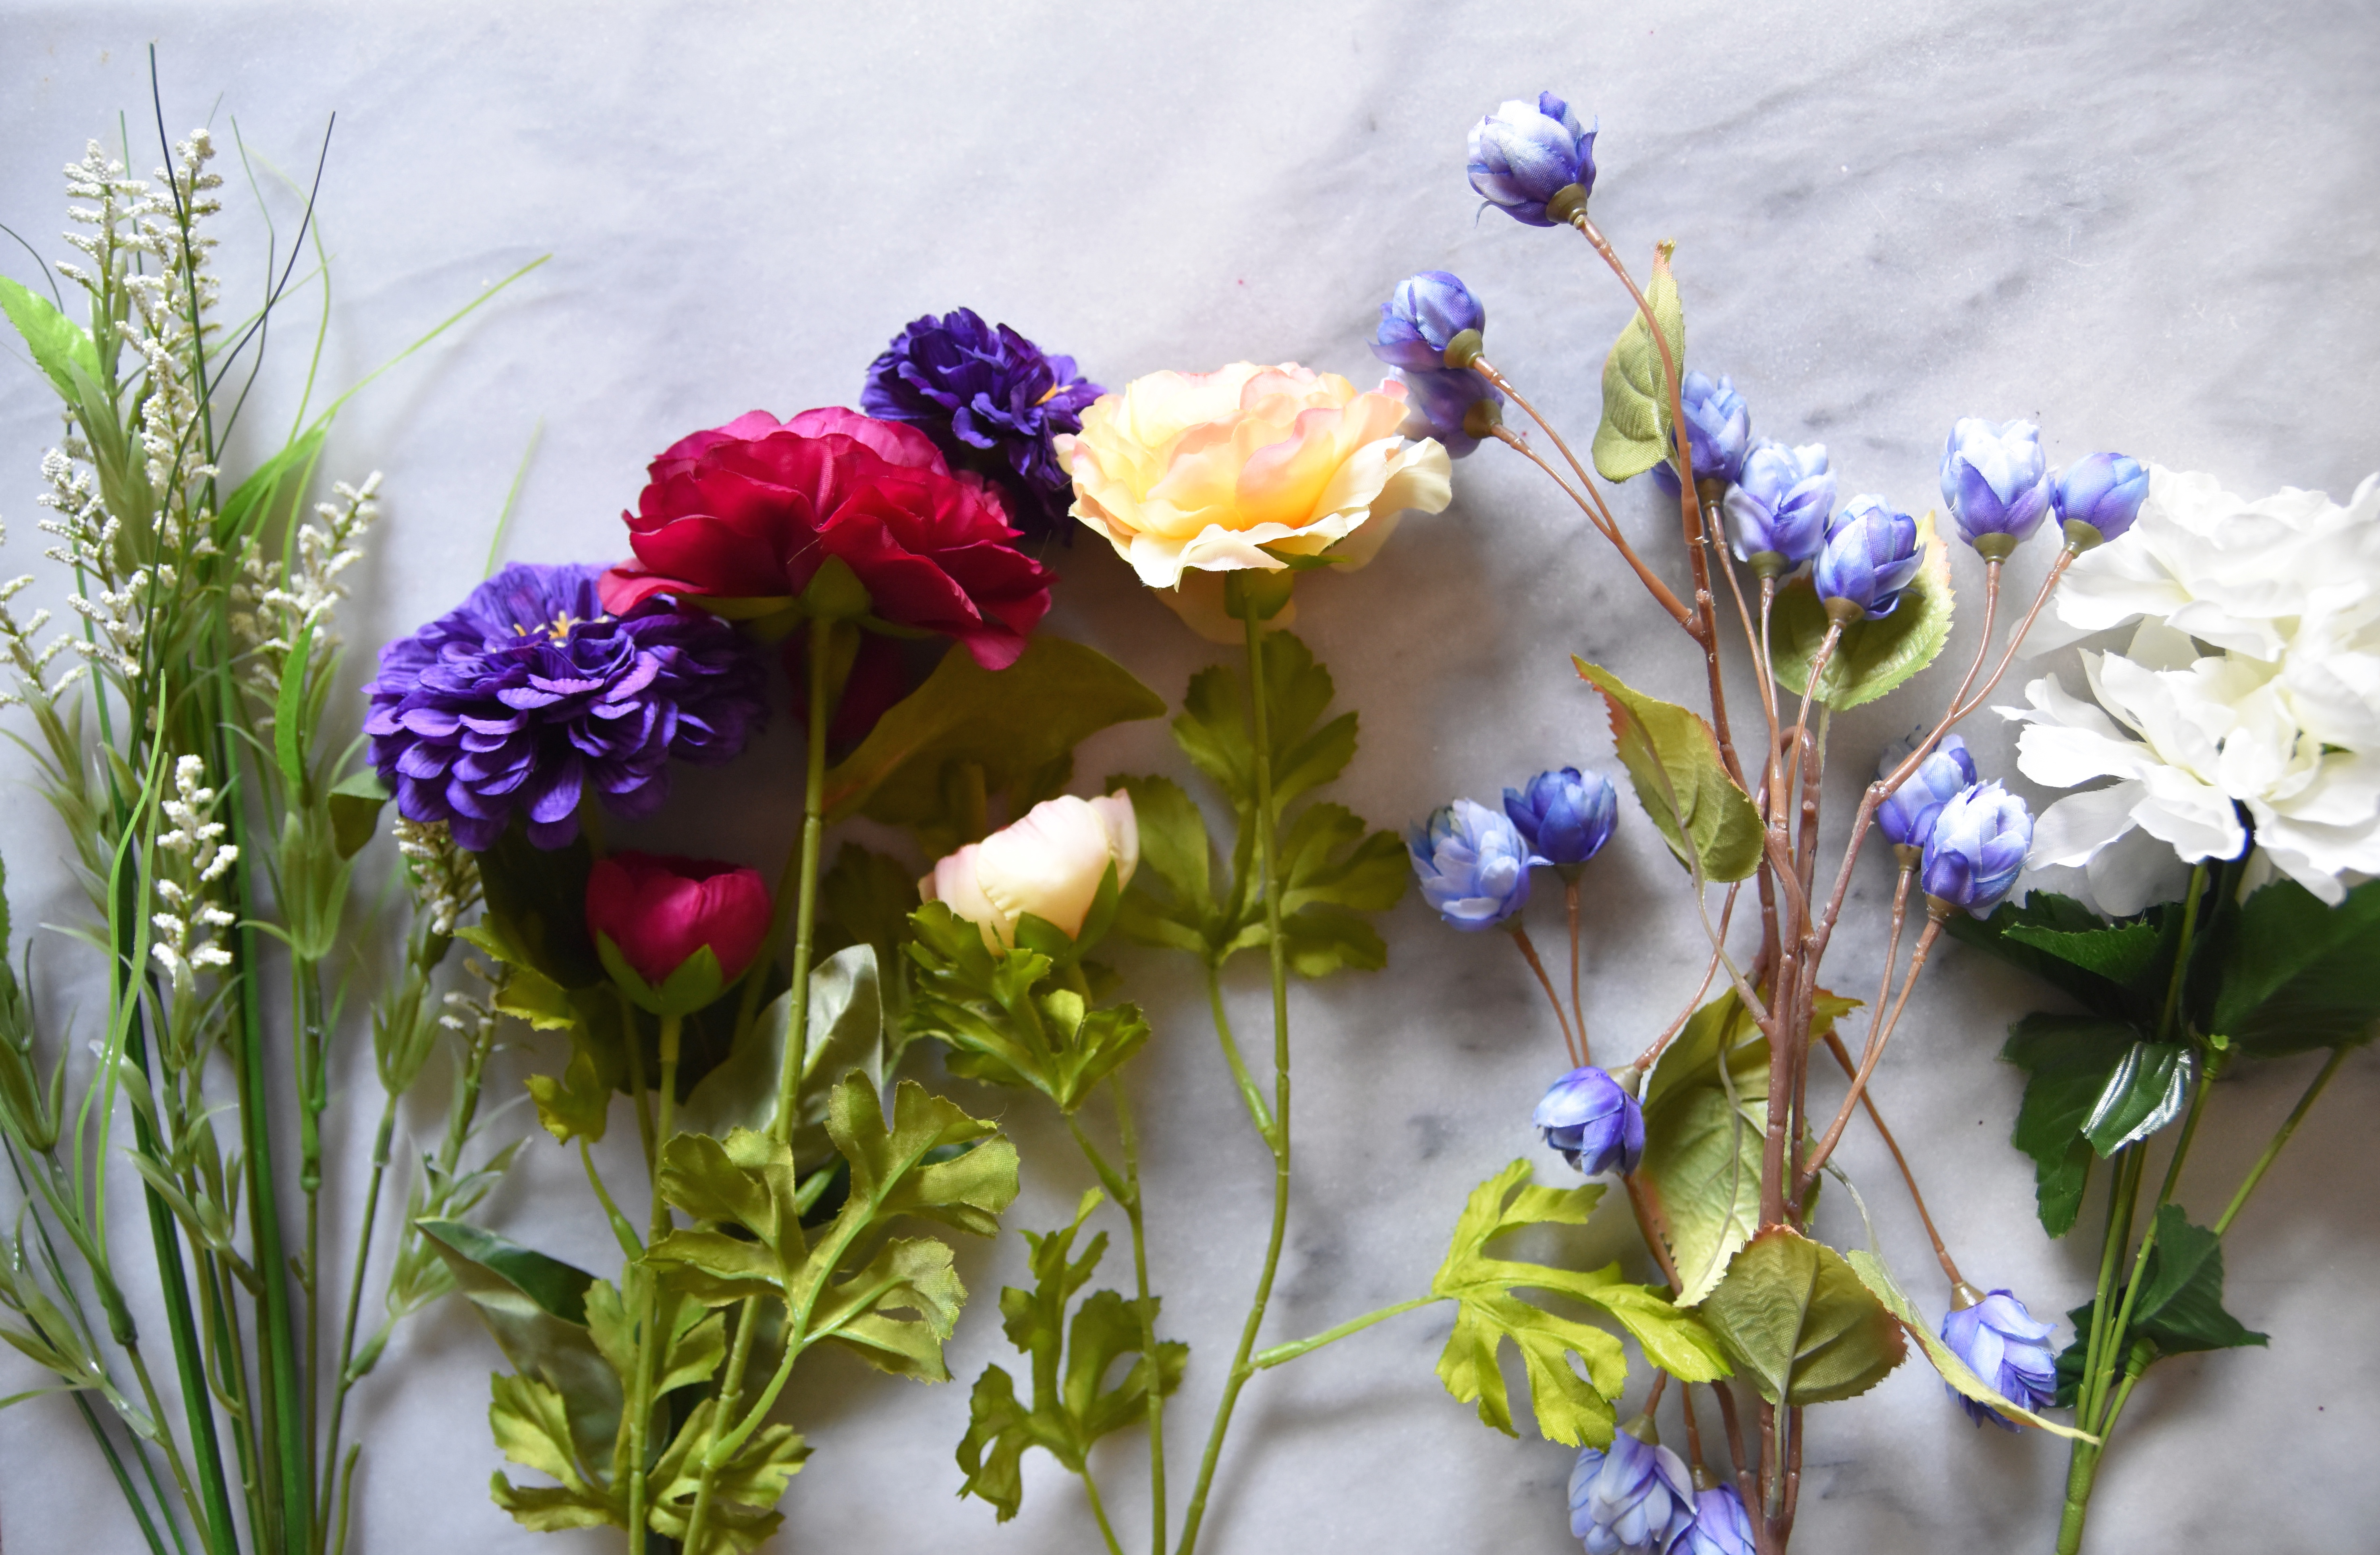
FLOWERS OF YOUR CHOICE
GREENERY
H O W T O
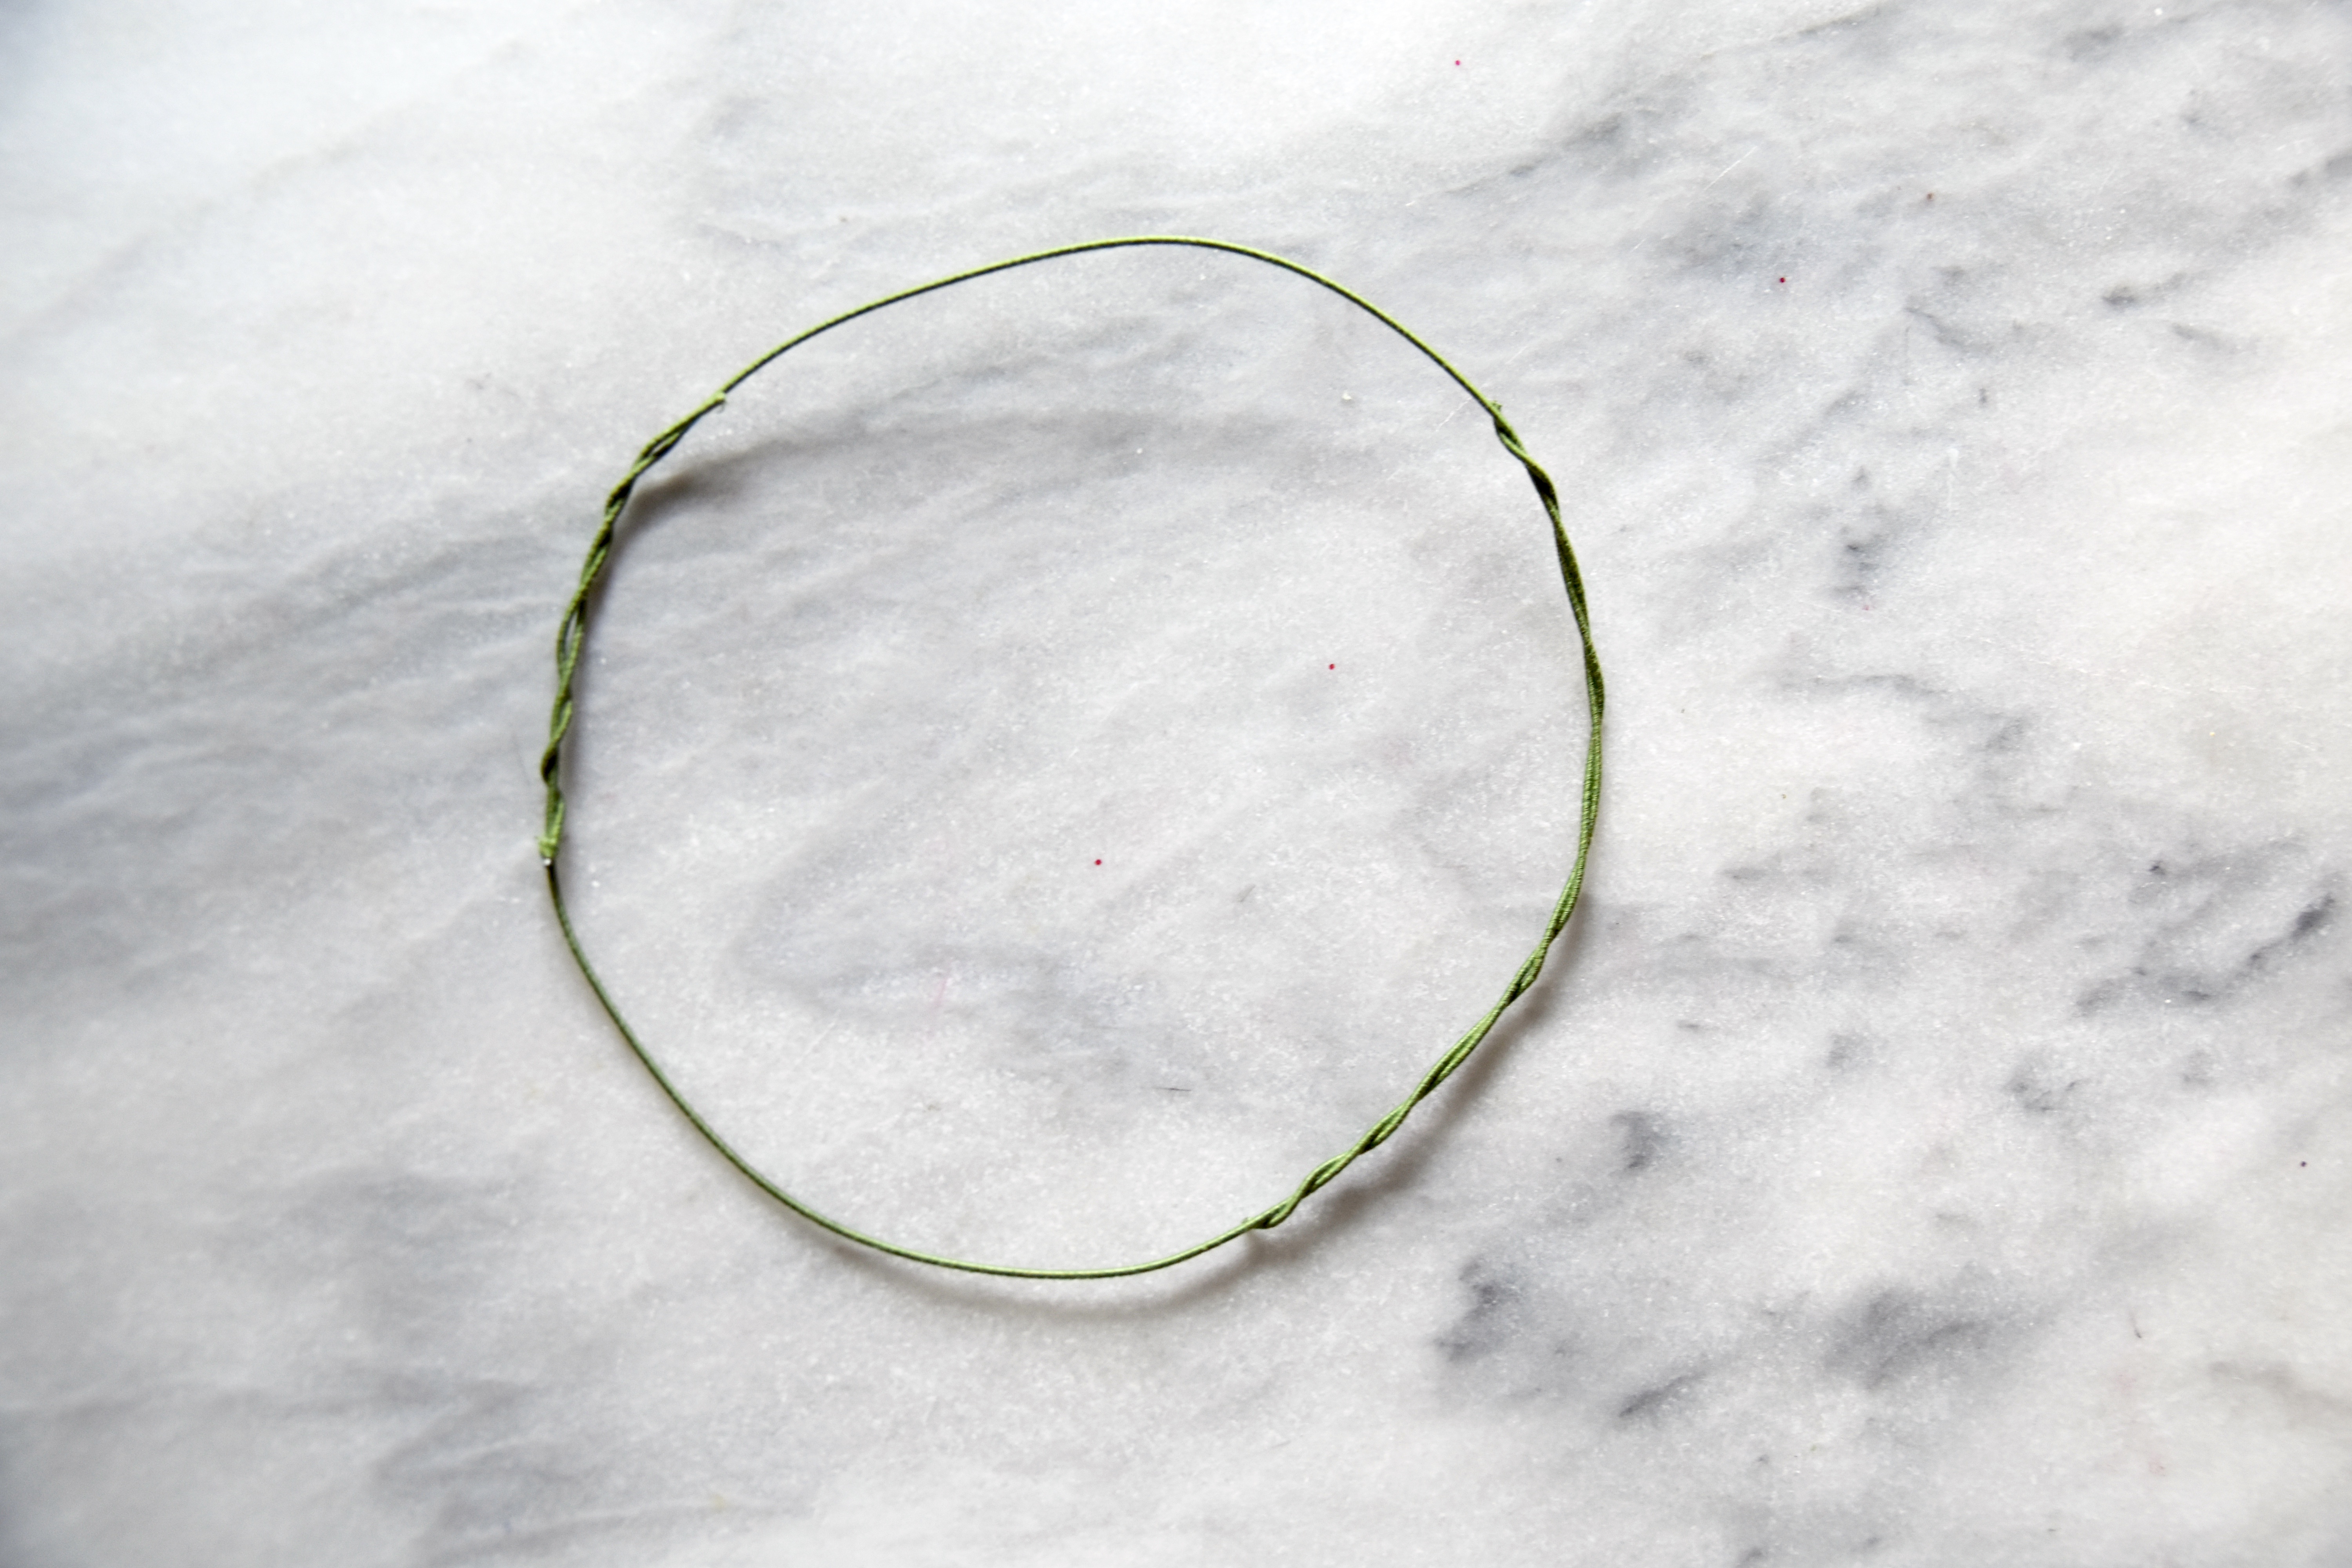
Measure the size of your head with floral wire and cut off the excess
Use floral tape to secure sharp parts of the wire
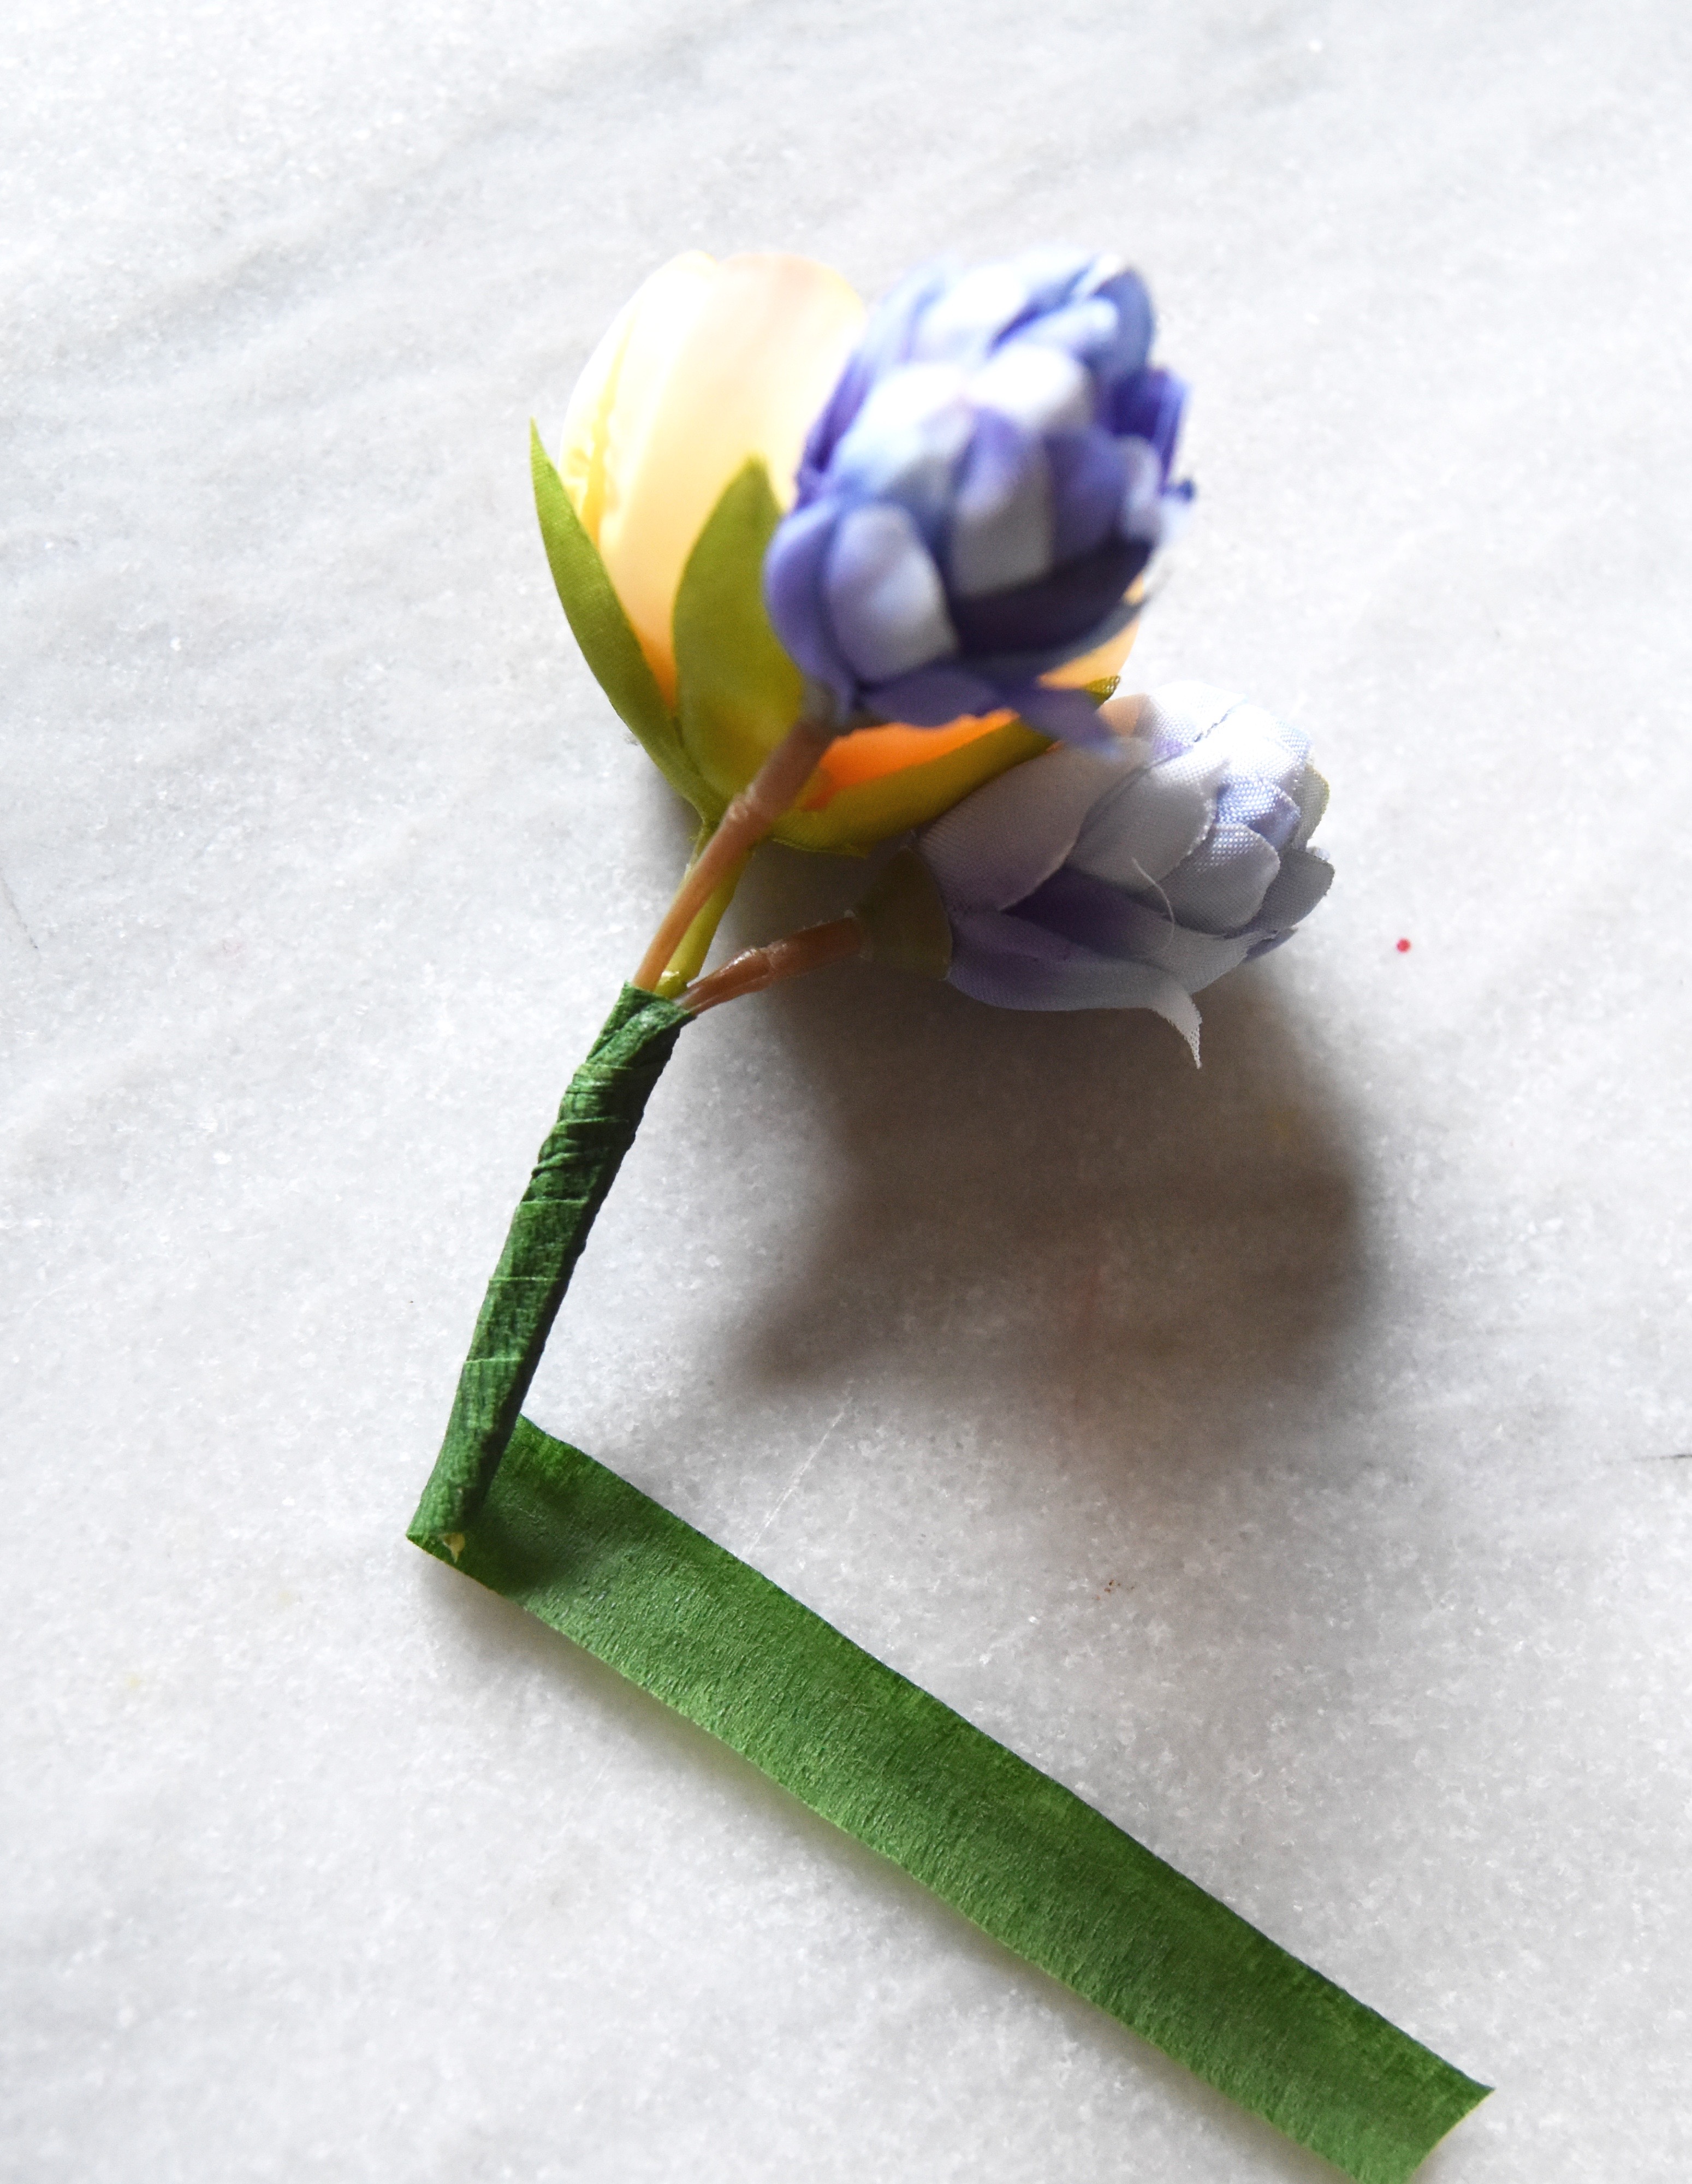
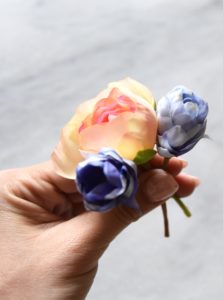
Pick your flowers and begin to cut the stems leaving about an inch.
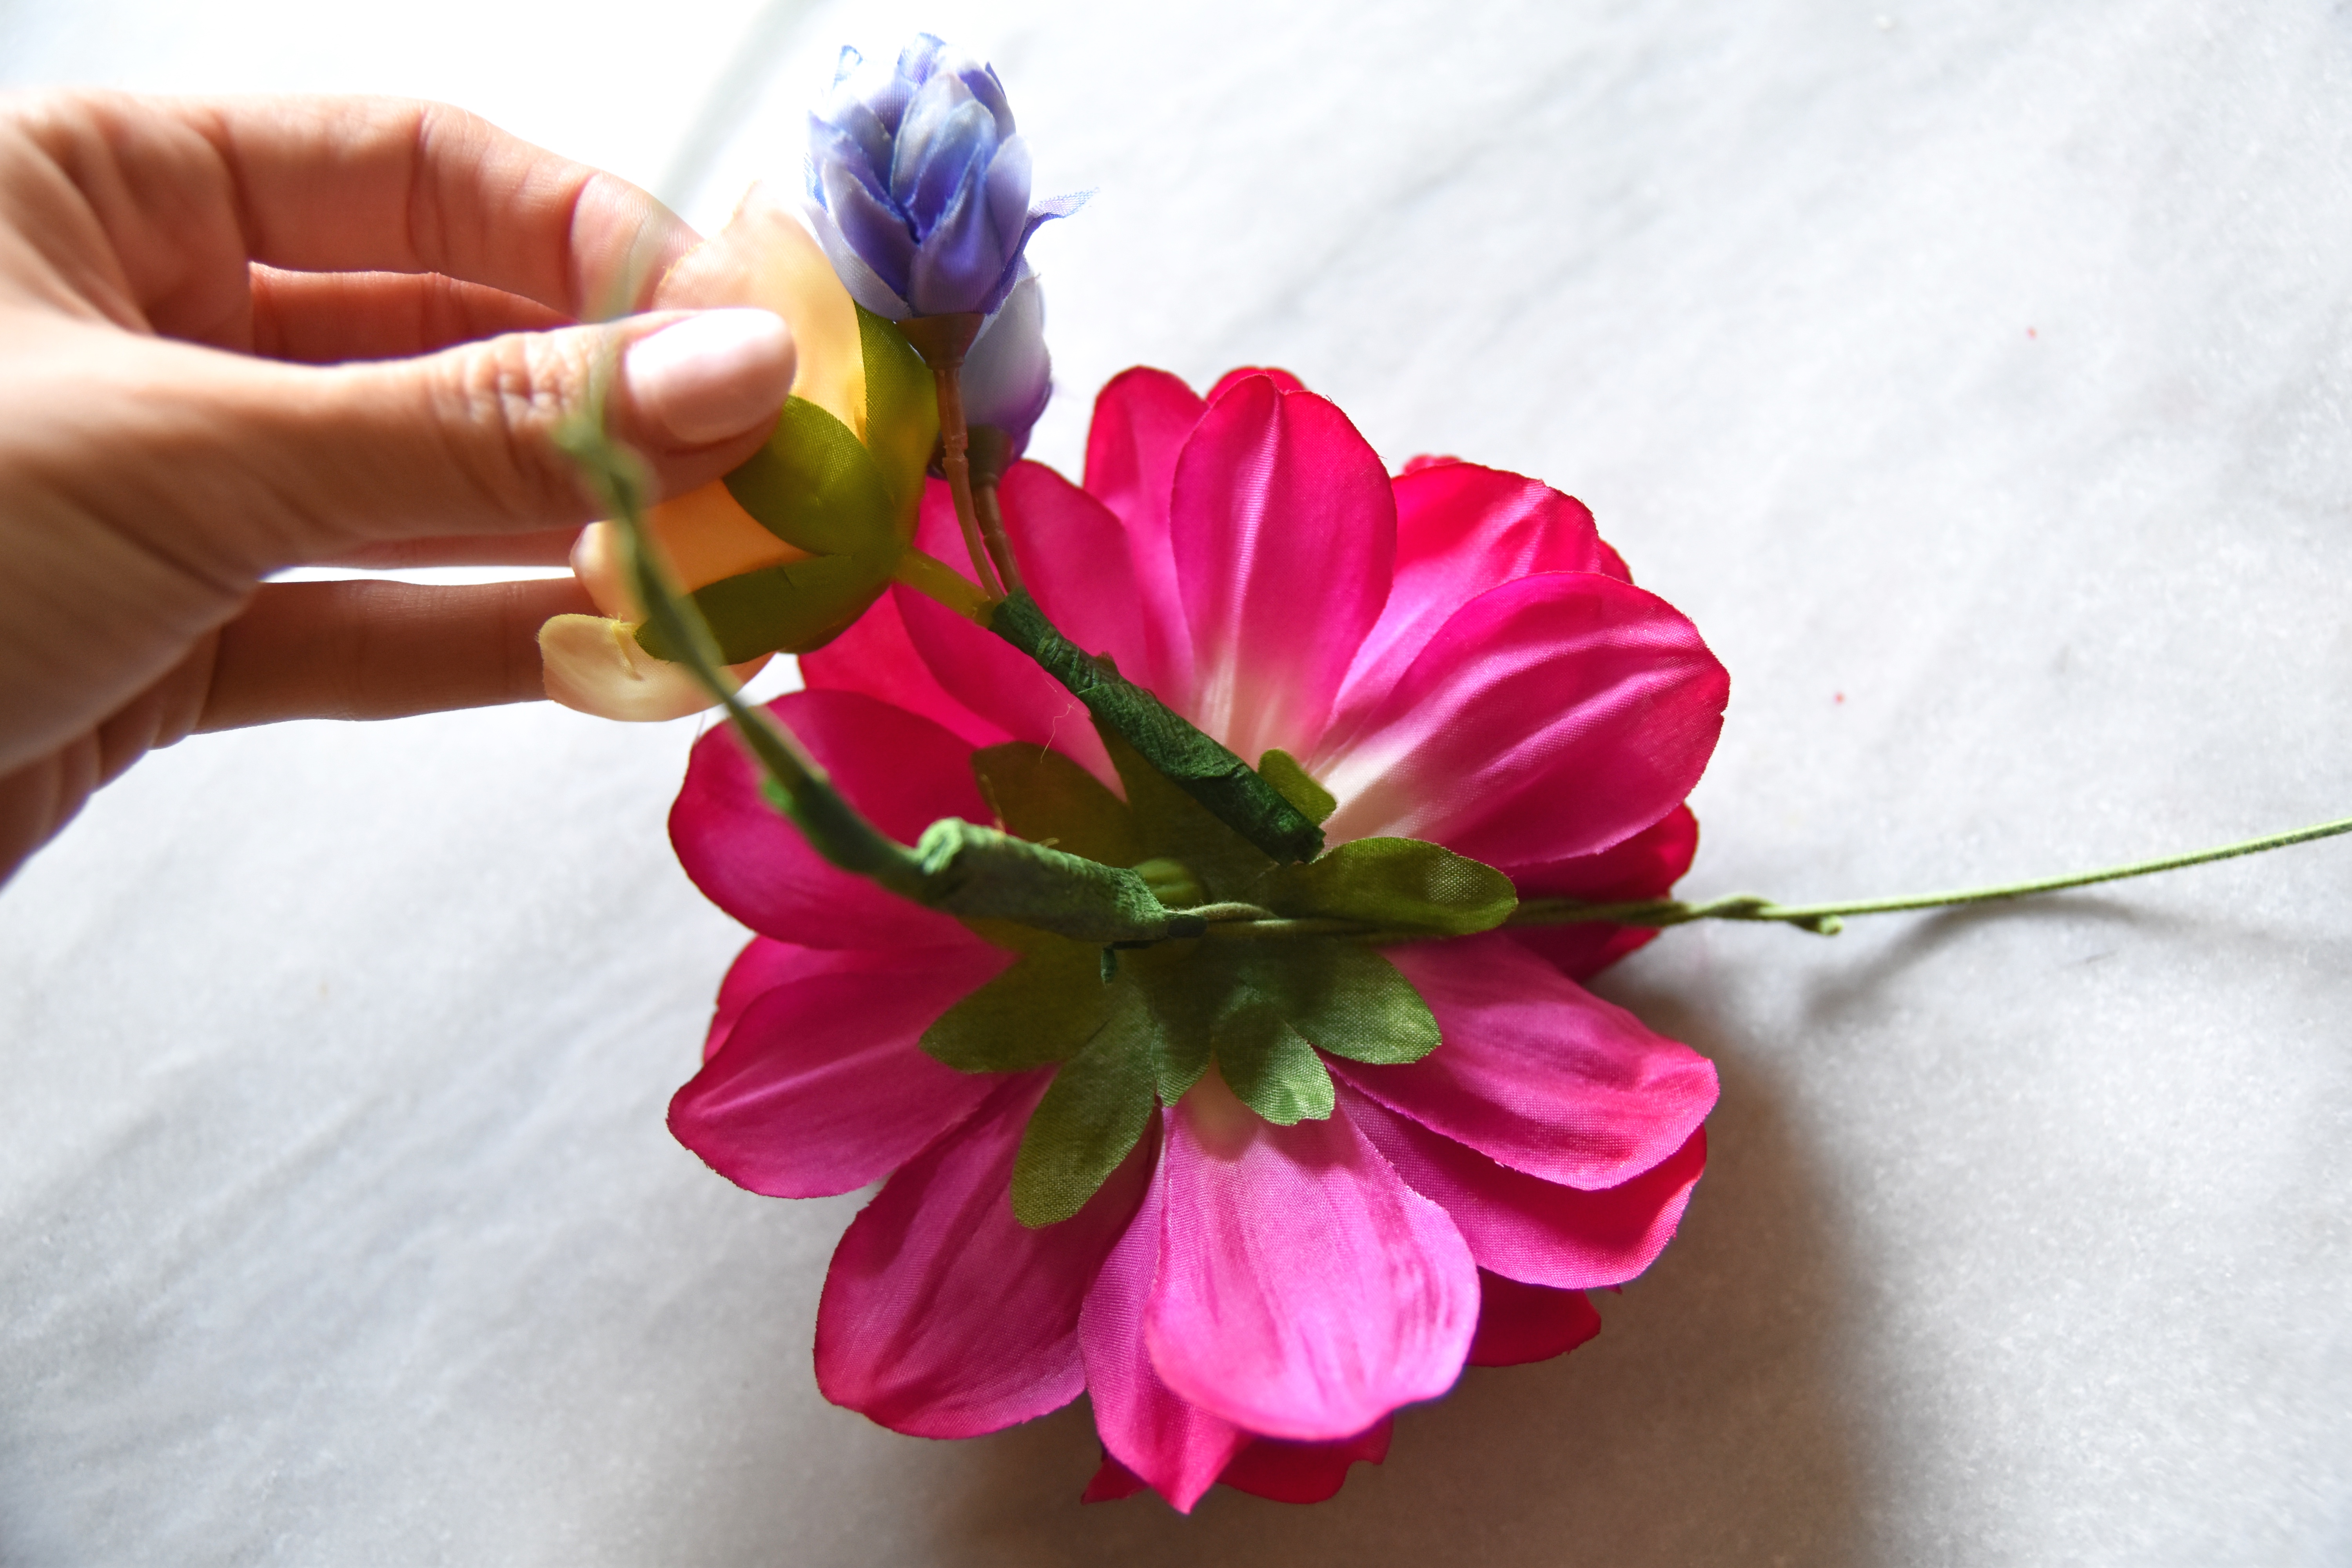
Choose one to be the focal point (I chose the fuchsia). Tape it in the center with floral tape
Start adding different flowers and balance out the colors. There’s no right or wrong way! Special tip: Add some greenery in empty spots to fill up space
Rotate the direction in which you lay your flowers on the wire to keep it voluminous




FASTING WHILE PREGNANT

SHEIN LEAF PRINT DRESS
You May Also Like
A FORMAL AFFAIR
September 24, 2018
MIDDLE EASTERN SIMPLE SALAD
April 24, 2018